This bit is about building the insides basically - making it a functional building.
So, I’m at the stage where the buildings is weatherproof. The building is basically a watertight shell, but doesn’t have any functional use yet. The principal requirement is that all the insulation is fitted to the walls and ceiling and the conduits and cabling are fitted so that the interior skin can be fitted.

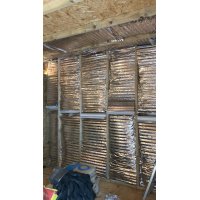
As mentioned, prior to the frame going up - the chassis of the building is already fitted with the hybris insulation, so that’s one less job with the floor done at least. Next the walls and ceiling are done - and its a very easy job. So easy my family helped. Just cut the rolls to the width of the timbers and theres a little trick to unfolding whereby you have to un-concertina the bit youve cut, but its dead easy. Then fully to size you just push it inot place. Dead, dead easy. No sticky wet substnaces, no bracing or shuttering, no cutting little bits off like Kingspan or cellotex. As mentioned the hybris can be cut to width - I found a big scalloped edged knife was best for this although you could use a box cutter I guess. The rolls are about 500mm thick. Once the Hybris is fitted you can add the top OSB board and thats it - but of course you have to service all the cables for electric and so on first if you want them buried.
Incoming cabling includes a soil pipe, water, electric, phone and Ethernet from the house's main router. The most difficult is the soil pipe. It has to run 20m across the garden to the main sewer and have a fall, so it all has to be as close as possible to the main outlet in the concrete pad. A hole is already cut in the base to facilitate it. That’s now ready to receive the toilet outflow, and also has the grey water added for further wash through. As all the sinks will have traps it shouldn’t matter, but ordinarily you would want to do this.

Next most important and dangerous is the electric for both lighting and power. The main cable is armoured, and is routed all the way up the wall to a small consumer unit fuse box so that it can have an RCD to cut out in the event of a short. The whole thing is served by a single fuse in the main house's consumer unit.
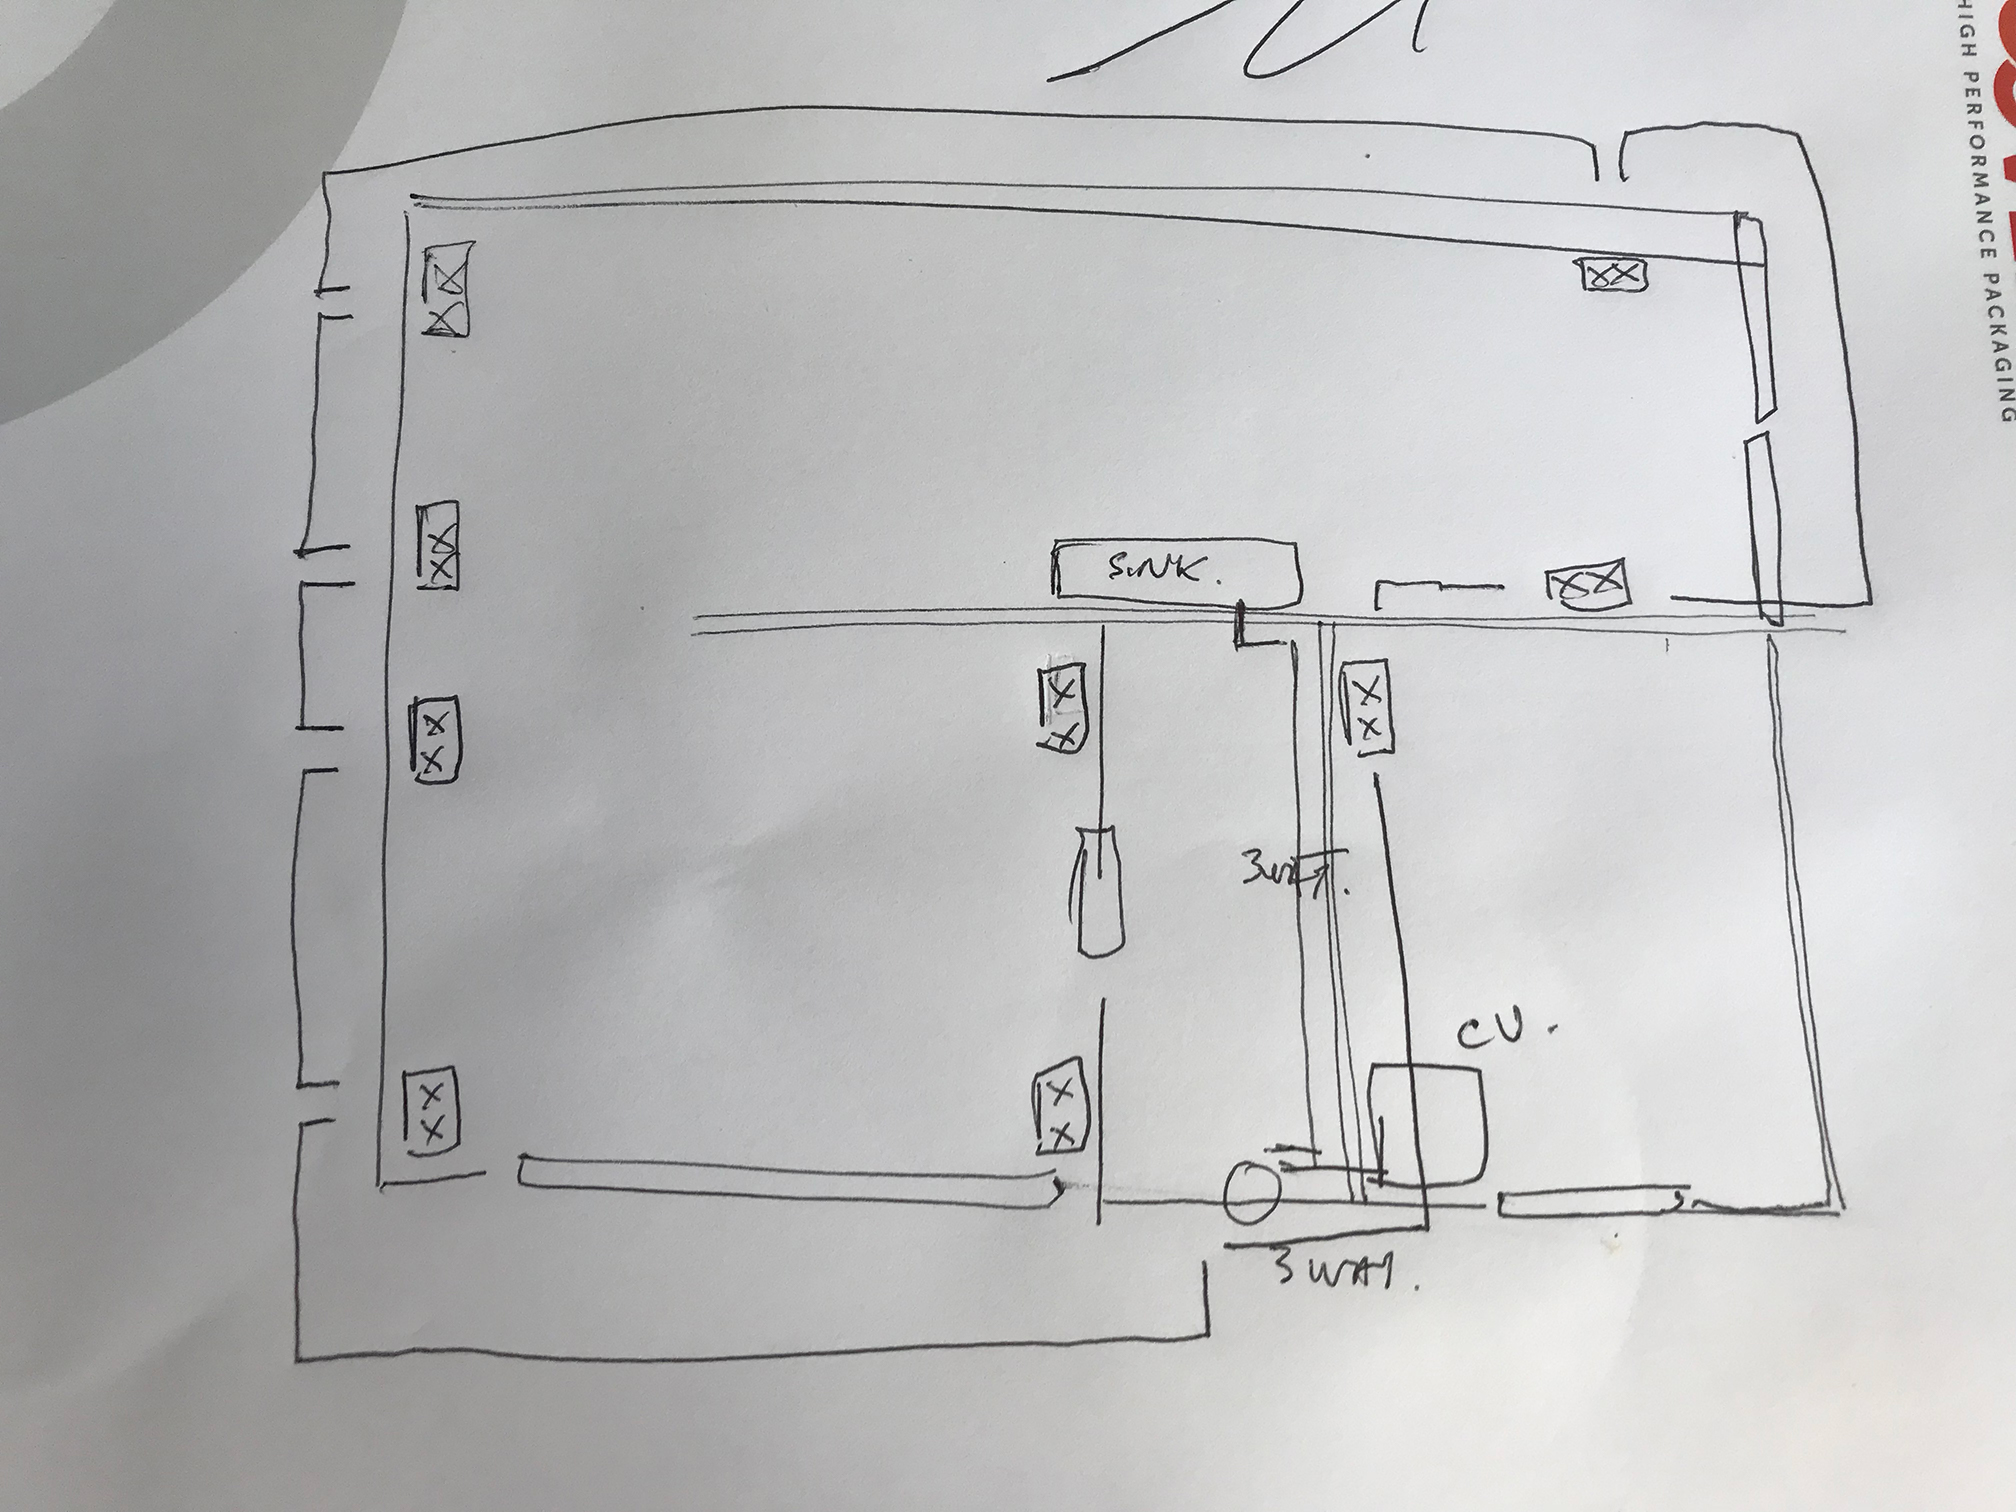
Then it’s a laborious job of drilling holes through the frame to pass the various wires and passing them through. The building is very big and this takes ages, the same for the ceiling and lighting. The garage part has a pitched roof and an upper storage level and also needed lighting. Prior to this stage drawing a diagram of power and lighting really helps.
Plumbing is basically two sinks draining into the soil pipe. Again the laboriously long task of drilling out to fit the water supply pipes and drainage all in the will be wall.
Eventually the day comes to fit the inside skin. Slightly thinner OSB board again. And also again - given the building has a larger surface area this takes several weeks; I’m working on my own mostly and working my full time job as well. The ceilings are a bitch. The boards are 2.4x1.2m and lifting to the ceiling, then drilling and fixing is very physical work. A support bar here is a very useful tool - about £20 from Screwfix. It’s like a third hand. Also a top quality screw gun. I have a Ryobi, but about £100 is where you want to be.
Finally on plumbing the toilet. Not very glamorous but hey - it’s very handy. It was loads of logistical work laying the soil pipe and the effort is all worth it. I’ve fitted a proper bathroom which makes the whole experience so much more self contained. Plus you have an extra loo in a scrape.
The building is now ready for ‘stuff’ - like a useable living building.The building is moving into the exciting stage, decorating and fitting lights, electrical bits like routers, and final finishes.


